Rock Tumbling Tips for Beginners
(This post contains affiliate links, where I may earn a commission on products purchased through links, but it never affects the price you pay.)
I've been learning how to tumble rocks, and it's quite the adventure.
"How hard can it be?" you ask. "Don't you just put them in the tumbler for weeks and it does some magic, makes them all smooth and shiny?"
Well, yes... and no.
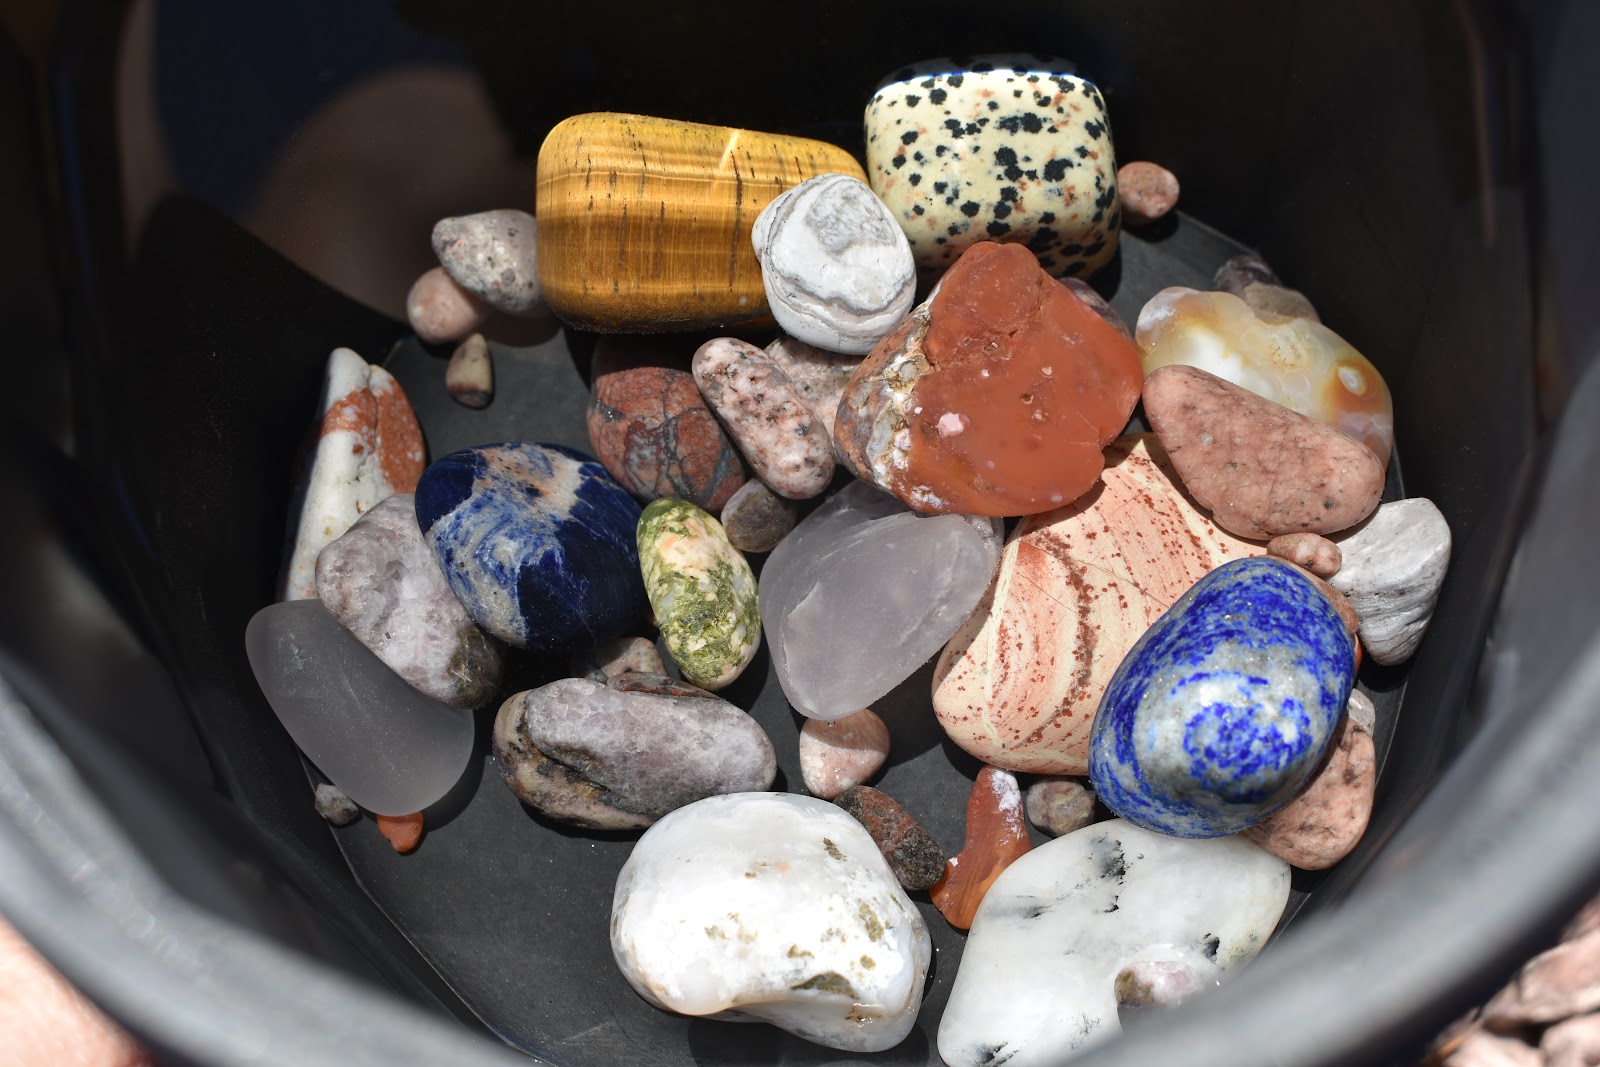
That's the first batch of rocks I tumbled; the ones that came with the tumbler I ordered online by KoolStone.

There is a lot to learn about tumbling rocks, and I'm going to share what I've learned so far.


First, and most important tip, number 1:
Don't try to rush the tumble. For all four steps from start to finish, it takes about three weeks to a month. Yes, I know. A month is a looooong time, but trust me, it's worth it.
While it may feel like an eternity to wait the specified amount of time (for example, the instructions said step one should take about 5-7 days at speed three), do it. It's ok to pause the tumbler to check on your rocks, but don't look at them in a day, or two, or even three, and think, ok, let's see what step two does!
The same goes for the rest of the steps. Shortening the time or skipping steps will result in dull rocks. You're already speeding up the erosion process. You are waaay faster than mother nature, don't get greedy.
That being said, the instructions are still a guideline, not the law. Understanding how long rocks should tumble based on their hardness and composition is trickier. Generally, harder rocks should tumble longer, but you may have to experiment or research the type of rocks you're looking to tumble for more specific answers.
Some copper ore with chrysocolla I tumbled:
This leads to the next tip, number 2:
Try to tumble rocks of the same hardness together. Rocks like quartz, which has a hardness of 7, will take longer to get smooth than say calcite, with a hardness of 3.
Here's some Arizona quartz stones I'm tumbling right now. I just rinsed them off after step 3.
This is what they looked like when I first put them in the strainer.
Bonus tip: Go to your local thrift store and get a medium sized strainer for super cheap, or if you don't have time for that, check this one out. Don't use the one from your kitchen.
Bonus bonus tip: always use the hose or buckets of water to rinse your rocks. Don't pour the grit down the sink, unless you are a plumber, are related to a plumber, or have a huge crush on a plumber. Kidding. Just don't do it.
Tip number 3:
Use high quality polishing media in all four stages of tumbling. I like Polly Plastics, not just because they work great, but the bottles have a plastic top under the lid so they don't spill all over, and the opening is large enough to get a measuring spoon in easily.
In addition to high quality grit and polish, I like to add ceramic media. You can add it on step one and keep using it for all 4 steps. It's a great filler to keep your rocks from hitting each other too hard and causing damage. It also gets the grit into areas that are hard for it to reach.
I like the 1/8" x 1/4" size because it seems to last longer. I've had great results with this one from Amazon.
Tip number 4:
Always wash your rocks really well between steps to keep any grit from moving on to the next step. I always put mine through a cycle in ultrasonic jewelry cleaner between stages, but it's pretty small and I can only fit about 4 stones at a time.
Tip number 5:
This may not really be a tip, but more of something to keep in mind before you start tumbling rocks. It can be pretty loud. With the rubber barrel on the rock tumbler, it's much quieter than it would be with a metal tumbler. Keep your rock tumbler somewhere you won't hear it, or at least where it won't keep you awake all night. If you have a garage or shed with an outlet to plug it in, that's a great place.
I had a Styrofoam cooler laying around, so I tried poking a hole for the cord and putting my tumbler inside to muffle the sound. It helps.
I hope the things that I've learned so far can help you in your rock tumbling adventures.
No comments:
Post a Comment